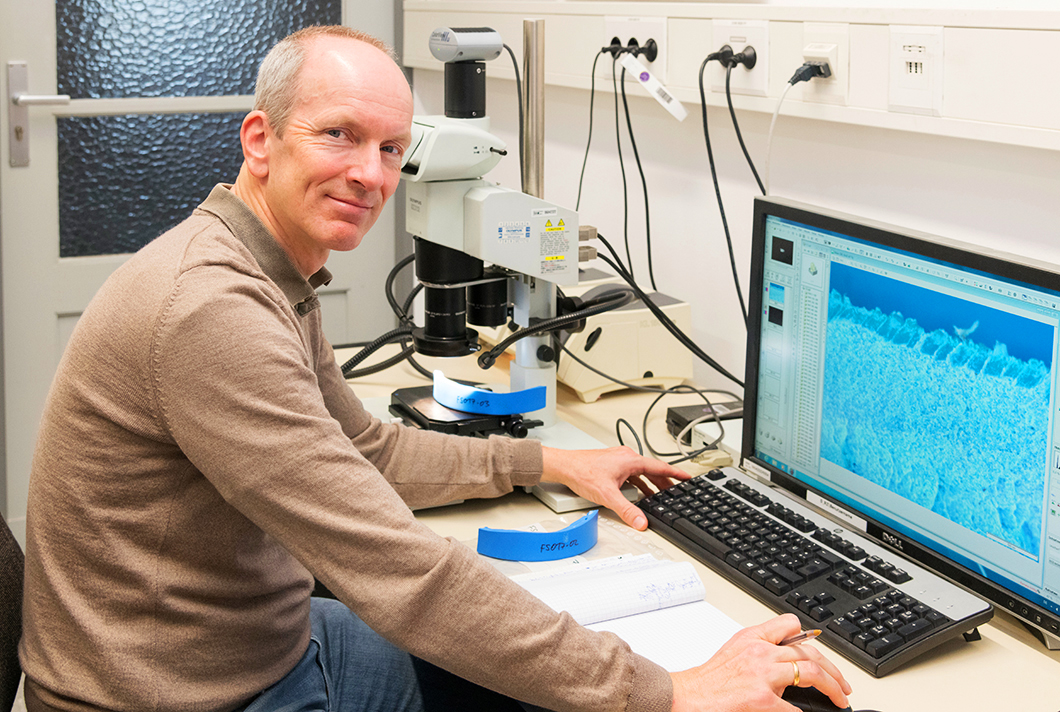
Dr. Dirk Bettge, fractography and metallography expert, here with a material sample under an optical microscope. The monitor displays a detail of the fracture surface.
Source: BAM
Material failure has dire consequences when it results in people being injured. This almost happened in 2008, when an ICE (Intercity-Express train) in Cologne derailed. A wheelset axle - a part of the chassis - was broken and a wagon jumped off the tracks. What caused this? There was huge media interest, but the only remark the BAM spokespersons were initially permitted to give about the tests and investigations was “no comment.” It emerged that a material contamination during the manufacturing process caused the crack, which ultimately broke the component. The client – the public prosecutor’s office – eventually released BAM’s findings.
Analysing fracture surfaces and cracks to investigate fracture mechanisms is the task of the experts who specialise on the topic of fractography. Dr. Dirk Bettge from the BAM Materials Engineering Department executed the fractographical and metallographical investigations along with his colleagues for the expert report on the ICE accident in 2008. Business enterprises of all sizes, insurance companies and also courts often turn to BAM for independent damage analysis when the cause of the damage is not clear. Most of the investigations are never published, as BAM is obliged to maintain confidentiality with respect to its clients.
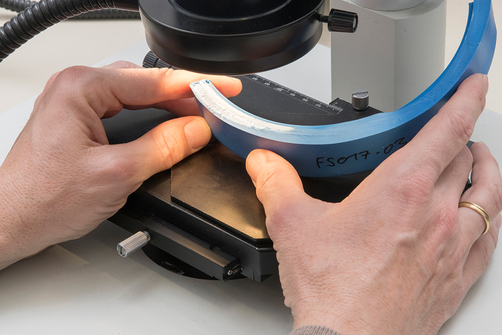
Material sample under an optical microscope Source: BAM
Fractography has a long history within engineering and is yet highly topical. As early as the end of the 19th century, a BAM founding father sought to understand how material fractures arise: Adolf Martens. He developed special investigation methods for materials testing and knew even then how to differentiate between forced ruptures and fatigue fractures. Both of these leave characteristic macroscopic and microscopic features behind on the fracture surface. The initial exclusively light-optical methods were refined over time. The transmission electron microscope was utilised, followed by the scanning electron microscope. Dr. Bettge explains: “We analyse fracture surfaces from failed parts and write test reports, and we are working on spreading our experiences further. Today of course, it is no longer about writing heavy textbooks, but providing available digital and online databases. Knowledge must be gathered and made available in order to have a database.
It requires many years of experience to correctly interpret a fracture pattern. He himself only felt he was an expert following 10 years in this field. Dr. Bettge already knew how expertise could be built upon more quickly: “We are currently working on how fractography can be performed not only qualitatively, but also quantitatively in the future. Fractography is based on a comparison between existing knowledge and the current cases. Fracture surfaces have distinct characteristics, such as striation structures, honeycomb structures or crystallographic patterns. The quantitative assessment of characteristics is very demanding, and in detail, it is much more difficult than it sounds. Research efforts therefore aim at digitally and quantitatively recording, analysing and evaluating structures in fracture surfaces. It’s a field we need to get involved in.”
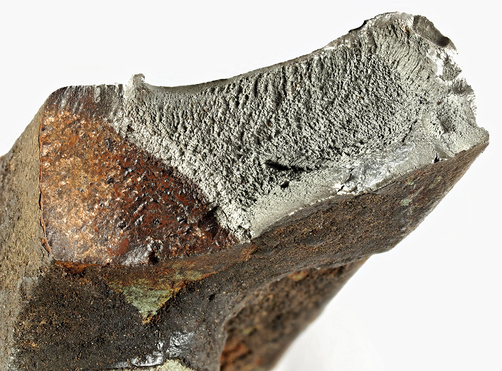
Fracture surface of an axle guide on the front wheel of a fire engine. There is a noticeable old, oscillating crack - which is corroded - and large grey residual area on the lower left partial surface. Source: BAM, Materialography, Fractography and Ageing of Engineered Materials Division
Dr. Bettge is even more specific: “You have to imagine it like this: in a fatigue failure, a part does not rupture all at once. The crack starts, propagates slowly and then breaks the part. If I look at it under the scanning electron microscope, I can see the so-called fatigue fractures, which has characteristic striations. The client often asks: can you see on the fracture surface when the crack started? Today we must say: well, we could give a rough estimate, but we cannot say for sure. An idea would be to count and measure the fatigue striations and compare them to the operating history, in order to establish a type of chronology, quite similar to biologists counting growing rings on a tree. Dating the fracture surfaces could be attempted using the fatigue striations found on the sample. For this, the fracture surfaces must be quantitatively evaluated so that we can provide a concrete date for every single change in the fracture surface. In a fracture surface, certain geometries are often recognisable which are related to the crystal structure of the material. This must be measured, interpreted mathematically and then represented. In this way, patterns could become discernible. With special detectors and particularly with suitable scanning methods, it should be possible to establish a digital pattern detection for fracture patterns.
This is still a pipe dream. However, as soon as an external partner is found who can carry out such a project with BAM, the old methods of fractography could experience a tremendous innovation boost.
Materialography, Fractography and Ageing of Engineered Materials Division


