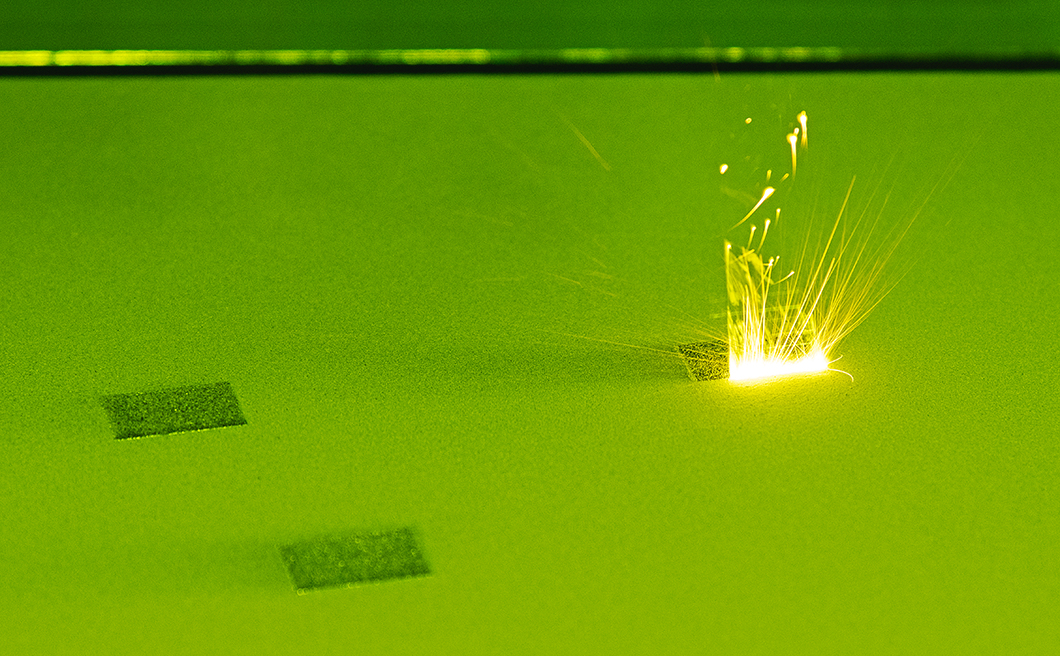
Melt pool in the powder bed of a laser beam melting machine (Laser Beam Melting, LBM)
Source: BAM
ProMoAM – Method development for process monitoring in additive manufacturing
Similarities often arise between the work of material scientists and that of detectives: material scientists also try to solve cases. Why does one component withstand the strain as expected, whereas another one of the same type fails prematurely, despite the fact that it was manufactured using the same technique and even the same machine? When it comes to proven manufacturing techniques such as casting, stamping or forging, experts can benefit from decades of experience. However, this knowledge is of little use to them when it comes to completely new manufacturing techniques. In addition to their specialist knowledge, they require something else in particular – ideas and a little detective work.
Additive manufacturing is a relatively new technique wherein objects are gradually created based on the design of a computer model. A layer of powder is deposited and then then fused with the underlying layer. This process is repeated, and this way the component is built. Today, plastics, ceramics and metals are already being produced with additive manufacturing. The new processes are particularly effective for small quantities and especially complicated objects made from a single piece. However, the quality does not always live up to standard. Components are only considered safe if they have no defects or if any existing defects do not exceed a certain dimension. It must be possible to detect the defects that are too large in a timely manner. There is also still a lack of specially adapted test methods, namely those for testing very complex components. Only when this is in place can components established by additive manufacturing be installed without hesitation in safety-related areas, such as technical plants and engines. This problem needs resolving. A few creative BAM experts are facing the task.

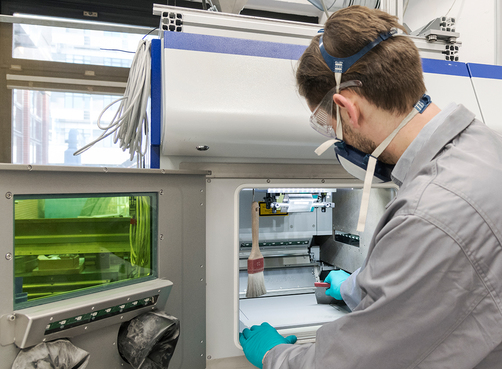
Gunther Mohr, a PhD student in the Welding Technology Division at the laser beam melting machine while disarming the plant
Source: BAM
Detecting faults before they vanish into the component
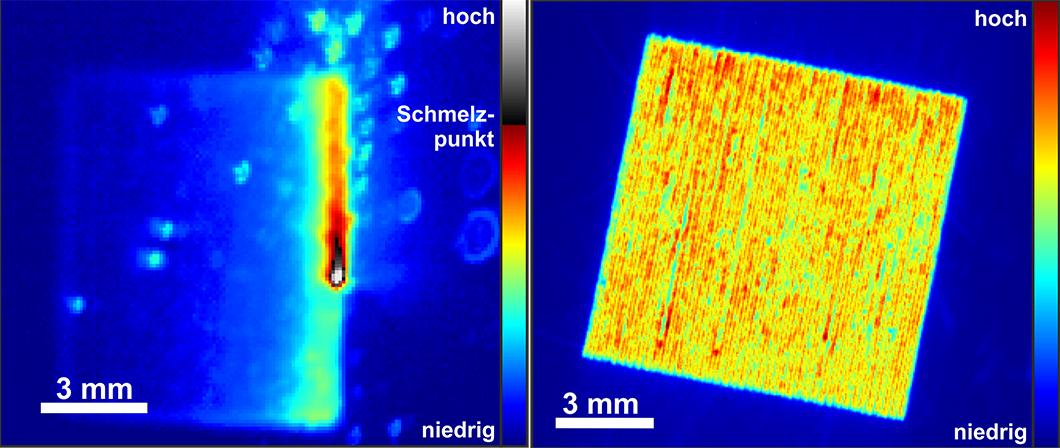
Within the BAM project ProMoAM, experts from various specialties want to track down defects even during manufacturing. They are concerned with additive manufacturing using metals. Dr. Christiane Maierhofer and Dr. Simon Altenburg from the Thermographic Methods Division with their ProMoAM team are looking at additive manufacturing processes and products with various testing methods. They recognise defects on the surface before they disappear later into the component. The ambitious goal: “The object should be monitored very precisely during the process so that no further tests are required; the object can be trusted,” says Dr. Altenburg. In some samples, experts are even introducing specific defects in order to establish if and how the various test methods indicate them. They therefore make the most of the additive manufacturing process: Each applied layer forms the surface of the end product for a short time before it is covered with a new layer. This temporary surface can be monitored during the manufacturing process using surface technology processes, for example, with thermography, optical tomography, emission spectroscopy or the eddy current method. In this way, the experts want to find out which methods are particularly suitable for detecting defects. The preliminary results for utilising thermography are already promising: with special cameras, scientists can precisely follow the development process of a component. The images can be evaluated thus making any abnormalities visible. Initial measurements of particles emissions in the installation space and ambient air have also been successful, enabling reliable statements to be made about the environmental compatibility of the manufacturing processes. There is still much to do, but it seems possible in the future to provide the machines with feedback in order to make adjustments.
What can go wrong
Numerous influential variables play a role in additive manufacturing, for example, the composition of the powder, the manner in which the machine deposits it, the thickness of the individual layers, the process gas, the temperature at which it is melted, or the time required for a new layer to cool down before it is covered by another layer of powder. Hidden defects can easily arise with this method. Cracks and cavities can emerge, as well as unstable microstructures and undesired stresses. If these are located at critical areas, even small defects may render the pieces unusable. The earlier a defect is discovered, the better. This way, the manufacturer can stop production prematurely if necessary, thus saving money. But exactly this is the problem: quality assurance during manufacturing. Today, manufacturers often only check their additive parts following completion. This is costly and time-consuming, and it is often the case that not all defects are found.

Optical measurement methods: Thermographic snapshot of the melt pool (left), optical tomography (right)
Source: BAM, Fachbereich Thermografische Verfahren
Making internal faults visible
BAM experts also rely on combinations of measurement methods, some of which run simultaneously. They expect specific test methods to complement each other well. In order to verify their results, they use computed tomography and ultrasound, both methods can be used to examine objects for hidden faults following completion. If measurement results are not conclusive, the experts must then further refine or discard these test methods. The data is evaluated layer by layer. For each method, a 'three-dimensional' data set of the component is created. The data sets are currently being evaluated and compared using various methods after manufacturing. This produces very large amounts of data. In perspective, however, the work of the scientists can lead to the evaluation being carried out in real time and only two or three parameters being stored in order to reduce the amount of data. "Who knows," says Dr. Altenburg, "maybe this will be the content of a follow-up project."


