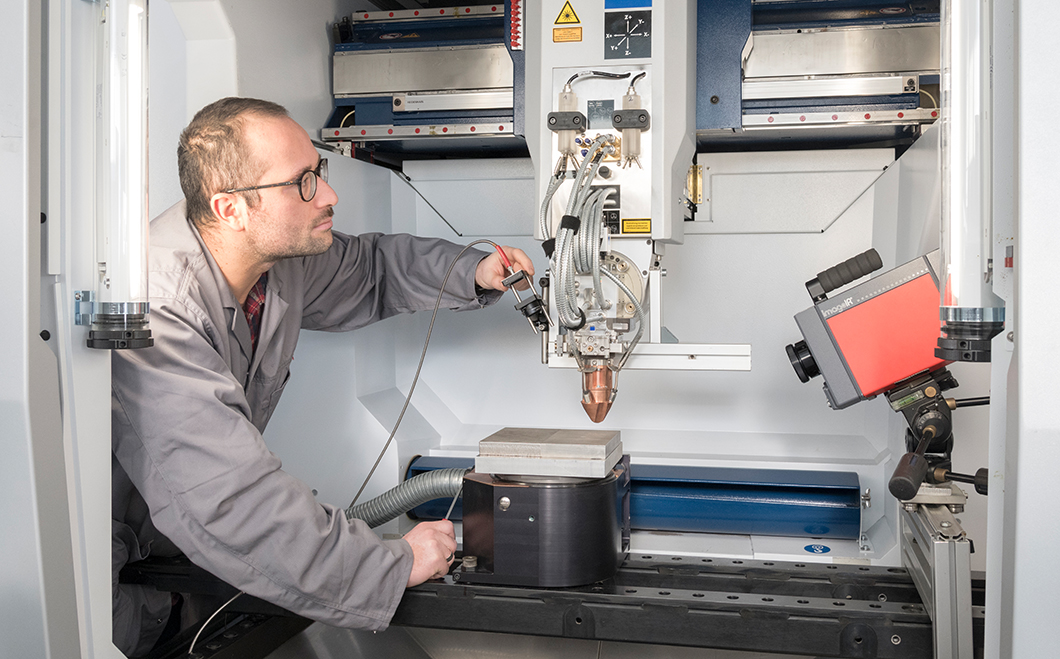
Adjustment of the focus position of an optical emission spectroscopy setup in a machine for laser metal deposition
Source: BAM
The quality of additively manufactured components is significantly influenced by the process parameters used during production. Thus, sensors and measuring systems for controlling the energy source, the installa-tion space, the melt pool and the component geometry are already commercially available for process monitor-ing, at least in metal-based additive manufacturing
(AM). However, it is not yet possible to detect defects and inhomogeneities directly or indirectly during the building process. The project Process Monitoring in Additive Manufacturing (ProMoAM), conducted at BAM within the focus area materials, aims to develop spectroscopic and non-destructive testing (NDT) methods for the in-situ evaluation of the quality of additively manufactured metal components in laser- or arc-based AM processes. In addition to passive and active methods of thermography, this includes optical tomography, optical emission spectroscopy, eddy current testing, laminography (radiography), X-ray backscattering, particle emission spectroscopy and photoacoustic methods. Previous investigations have shown that, for example, thermography can be used to record the temperature distribution. However, predic-tions of the occurrence of defects are only possible by evaluating heating and cooling rates and spatial temperature gradients.
These processes are used in various AM systems for LPBF, LMD and WAAM. Key characteristics of the measured data are extracted to correlate defects and inhomogeneities with the production parameters. The results of these evaluations are then compared with results from reference methods such as X-ray computer tomography and ultrasonic testing using immersion technology.
This process monitoring should result in a significant reduction in expensive and time-consuming destructive or non-destructive tests performed after the production of the component and at the same time lead to a reduction in scrap production. Since each subsequent volume element is initially accessible as a surface during the production of AM components, it is also expected that inhomogeneities can be detected that cannot be detected with conventional NDT methods due to, for example, complex geometries of the finished component.

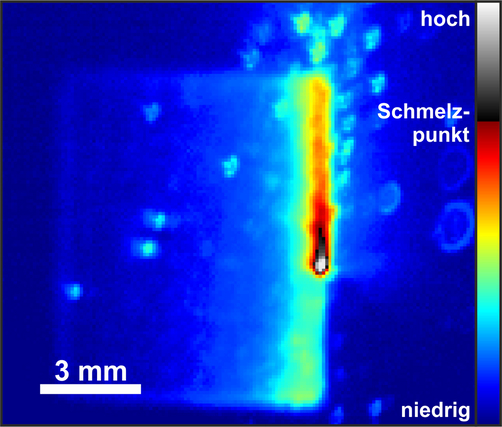
Thermogram, recorded with a midwave infrared camera during the manufacturing process of a cube of stainless steel in a laser powder bed fusion machine. The area of liquid material is shown in a separate grayscale.
Source: BAM
In this project, BAM uses decades of experience in the research-based and industry-oriented development of non-destructive and chemical analysis methods for industrial processes. There is a comprehensive under-standing across departments of the process-related influences on weld seam properties and of strategies for avoiding process-related cracks and other inhomogeneities.


