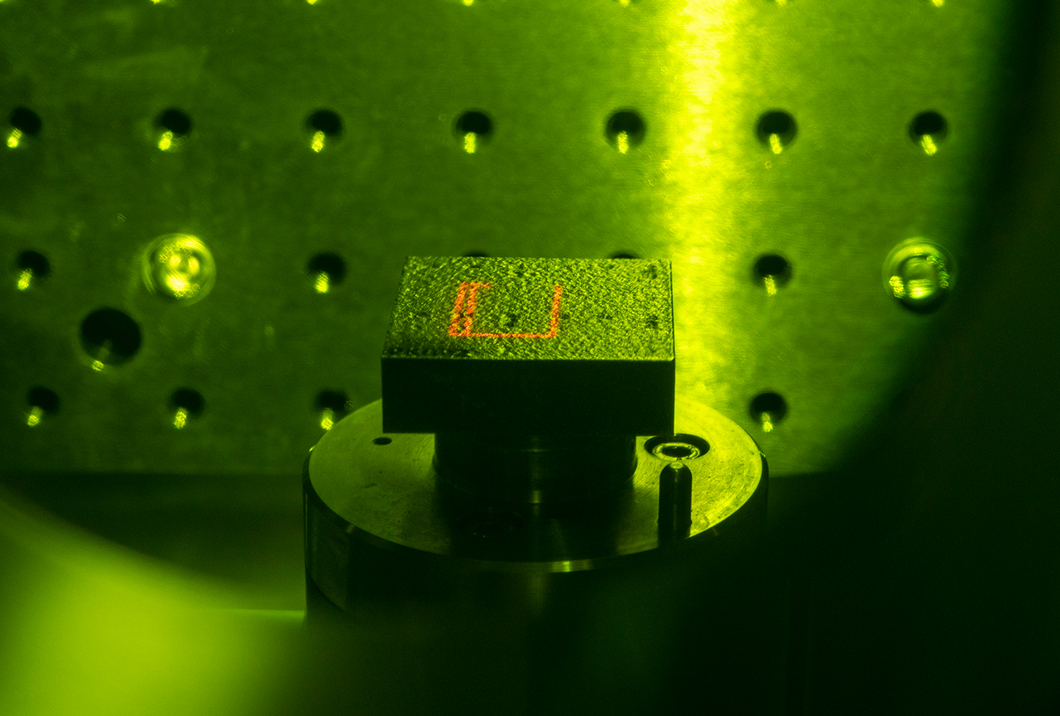
Laser thermography can be used to precisely locate cracks in an additively manufactured component.
Source: BAM
Additive manufacturing of metallic components in safety-relevant areas must satisfy high standards. Even the smallest defects can have serious consequences. Together with ThetaScan GmbH, BAM is developing a monitoring system that can detect cracks in real time during 3D printing.
The quality of additively manufactured components is currently only checked after the manufacturing process. This usually involves computer tomography, which is a non-destructive method and can determine whether the component has pores or other defects. If a component is defective, it must be discarded and the printing process, which sometimes takes several days, has to be started anew. This is why additive manufacturing of metallic components may be costly and time-consuming and often uneconomical for companies.
“It would be better to detect possible defects while printing is still in progress so that the process can be stopped in time or corrective action taken,” explains Tina Becker, BAM expert for in-situ monitoring methods in additive manufacturing. This has not been possible up to now because commercially available 3D printers do not support this function. In addition, small and medium-sized companies do not have the capacity to develop appropriate process monitoring and integrate it into an existing 3D printer.”
A two-stage process detects cracks immediately
BAM, however, has many years of experience with numerous methods of non-destructive testing, including in additive manufacturing. In addition to computer tomography, camera-based systems and eddy current sensors are used. Now BAM is developing an in-situ monitoring system for 3D printing using the laser powder bed process together with its project partner ThetaScan GmbH, a company specialising in materials and testing technology in aerospace, automobile and power plant industries.

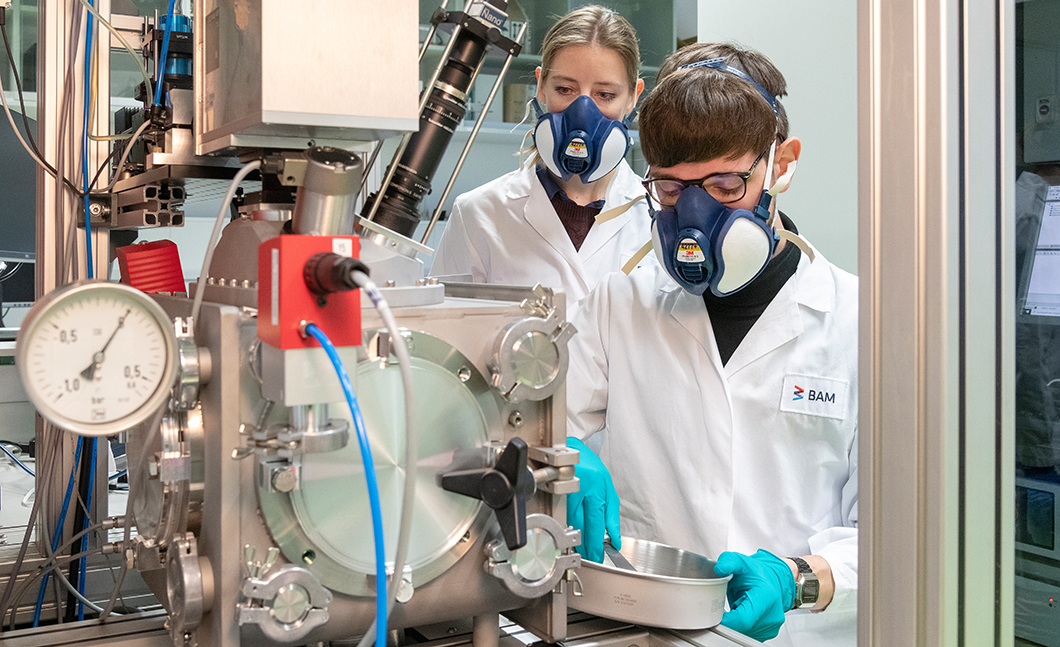
Philipp Breese and Tina Becker fill the 3D printer with metallic powder.
Source: BAM
“We use a two-stage process for early detection of defects,” says Becker’s colleague Philipp Breese. “Each layer of each emerging component is tested for defects using optimised high-resolution optical tomography during additive manufacturing. This allows us to identify potential defects such as pores or delamination at an early stage and select them for a second check using laser thermography. The second process then also allows us to precisely locate solidification cracks in the cooled layer.”
3D printing becomes economical
Combining the two methods has the advantage that defects can be detected even while the process is still running – the additional time needed for the test is manageable. If the defects are too serious, the printing process can be interrupted immediately. “This increases the safety of the manufactured components and the cost-effectiveness of the additive manufacturing process,” explains Tina Becker. “The test systems we have developed are the first that can detect cracks in situ making the quality assurance of additively manufactured components more efficient and thus 3D printing as a whole attractive for small and medium-sized companies. ThetaScan GmbH is already negotiating with companies to integrate the system into existing and new equipment.”

Tina Becker and Philipp Breese
Source: BAM


